
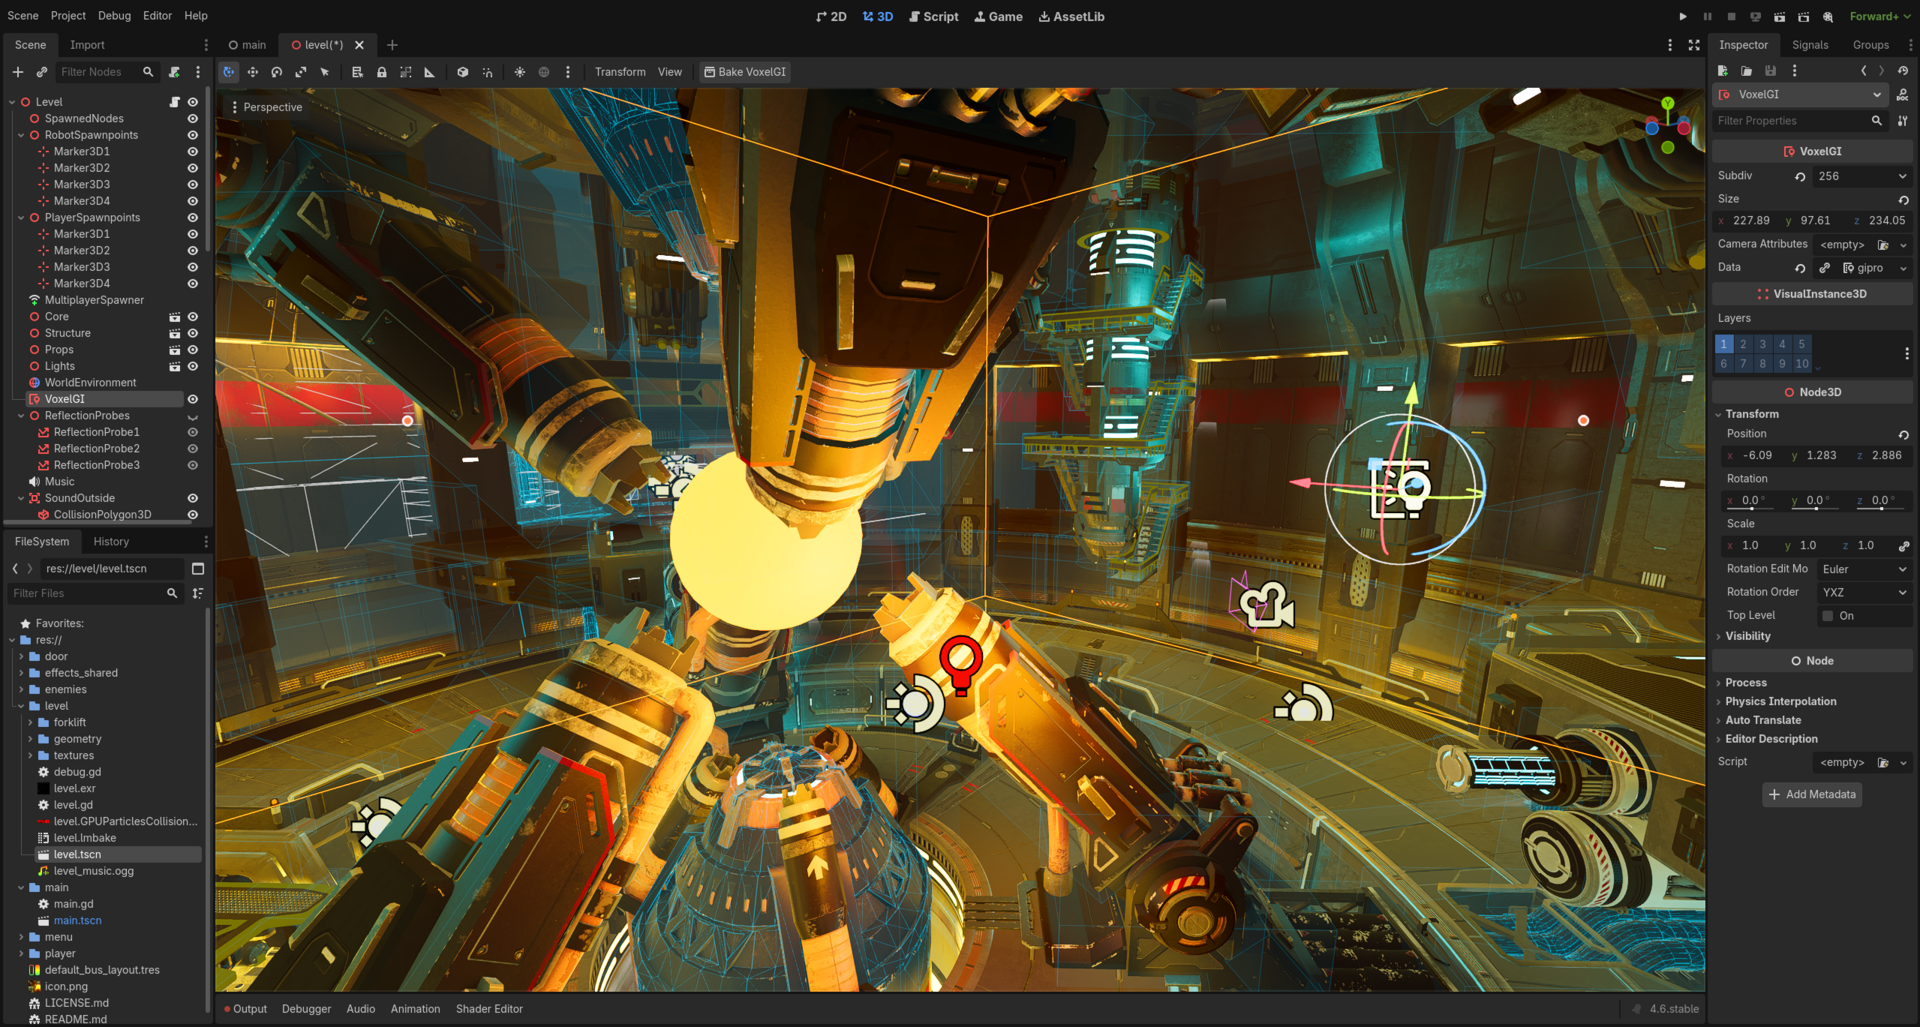
A 2D platformer is the single best first project in Godot 4 — it forces you to touch every core system the engine offers: physics, input, animation, tile-based level design, and scene composition. This tutorial walks through all of it, from a blank project to a playable game with a moving character, painted levels, collectibles, patrol enemies, a following camera, professional-feeling jump controls, and a finished export you can hand to a friend.
Table of Contents
This guide is written and tested for Godot 4.7, the current stable release (codenamed “Lights, Camera, Action!”), and every node and API it uses has been stable since Godot 4.3 — so the same steps work unchanged if you’re still on the 4.6.x maintenance line. No prior engine experience is assumed.
Quick Answer
Download Godot 4.7 free from godotengine.org, create a 2D project, and build a Player scene rooted on CharacterBody2D with CollisionShape2D and AnimatedSprite2D as children. Write a GDScript that applies gravity and calls move_and_slide() every physics frame, paint your levels with TileMapLayer, then add a smoothed Camera2D, patrol enemies, and an Area2D-based collectible system.
Add coyote time and jump buffering for professional-feeling controls, then export with Godot’s built-in templates. A playable prototype takes 2-4 hours; a polished, exportable game takes a weekend.
What’s New in Godot 4.7 for 2D Developers
Godot 4.7 is the current stable release as of mid-2026, and it’s worth building on specifically for a platformer. One-way collision now works on CollisionShape2D at any angle, not just tile edges, which makes jump-through platforms far easier to set up. A new Scene Paint Mode (press B in the 2D editor) lets you scatter enemies, coins, and decoration directly in the viewport without building a tile map first.
The stable Godot Android Build Environment (GABE) also landed in 4.7, so you can export — and even sign and publish — an Android build without installing the Android SDK separately, which matters once you reach the export step below. None of this breaks compatibility: everything else in this tutorial has worked the same way since 4.3.
Step 1 — Install Godot and Configure Your Project
Grab the Standard build from godotengine.org/download — it’s a single self-contained executable with no installer. On first launch, click New Project, choose Forward+ for a desktop-focused game, and click Create & Edit.
Before adding any nodes, open Project > Project Settings and set Rendering > Textures > Default Texture Filter to Nearest (so pixel art stays crisp) and Display > Window > Stretch > Mode to canvas_items (so the game scales cleanly at any resolution). Create scenes/, scripts/, and assets/ folders in the FileSystem panel to keep the project organized as it grows.
Step 2 — Build the Player Scene
Create a new scene rooted on CharacterBody2D, rename it Player, and save it as scenes/player.tscn. Add a CollisionShape2D child and pick a CapsuleShape2D or RectangleShape2D that matches your sprite, then add an AnimatedSprite2D child with idle, run, and jump animations loaded into its SpriteFrames resource.
Attach a script to Player, check the Template box, and pick CharacterBody2D: Basic Movement — this scaffolds the gravity and move_and_slide() setup you’ll extend next.
Step 3 — Write Movement Logic in GDScript
The template already pulls gravity from Project Settings. Add @export var speed: float = 200.0 and @export var jump_velocity: float = -400.0 — the jump value is negative because Y increases downward in Godot’s 2D coordinate space.
Inside _physics_process(delta): add gravity to velocity.y when not is_on_floor(), set velocity.y to jump_velocity on a jump press while grounded, read horizontal input with Input.get_axis(“ui_left”, “ui_right”) multiplied by speed, then call move_and_slide(). That one call applies movement, resolves collisions, and refreshes is_on_floor() for the next frame.
Step 4 — Paint Levels with TileMapLayer
Since Godot 4.3, TileMap has been replaced by TileMapLayer, and each layer is now an independent node — handy for keeping collision tiles separate from decorative background tiles. Add a TileMapLayer to your main scene, create a new TileSet, and use the automatic slicing wizard to import your spritesheet.
Tiles have no collision until you add a Physics Layer to the TileSet itself (Inspector > Physics Layers > Add Element), then mark which tiles use it in the TileSet editor’s Physics tab. Skipping this step is the single most common reason new platformers let the player fall through the floor.
Step 5 — Add Collectibles with Area2D
Build a Coin scene rooted on Area2D with a CollisionShape2D and Sprite2D. Connect its body_entered signal to a script that checks if the entering body is the Player, then calls queue_free() and emits a custom collected signal.
This same Area2D pattern — detect overlap, react, emit a signal — is what you’ll reuse for checkpoints, hazards, and level-exit triggers, so it’s worth understanding well before moving on.
Step 6 — Add a Following Camera and Parallax Background
Add a Camera2D as a child of Player and enable Position Smoothing in the Inspector so the view eases toward the character instead of snapping — this alone makes a platformer feel dramatically more professional. Set Limit values on the camera to stop it from showing empty space past the edges of your level.
For depth, add a ParallaxBackground with two or three ParallaxLayer children, each holding a background sprite. Give distant layers a smaller Motion > Scale value so they scroll slower than the foreground, creating a cheap but effective sense of depth.
Step 7 — Add Enemies with Patrol AI and a Stomp Mechanic
A simple patrol enemy is another CharacterBody2D: move it at a fixed speed and flip direction when a downward-facing RayCast2D at its feet stops detecting floor, so it turns around at ledges instead of walking off them. Add a hurtbox Area2D that damages or respawns the player on contact.
For a classic stomp mechanic, check the player’s velocity.y and position relative to the enemy in the collision callback — moving downward onto the enemy’s top half kills it and gives the player a small bounce, while touching it from the side damages the player instead.
Step 8 — Polish the Feel: Coyote Time and Jump Buffering
Coyote time gives the player a short grace window — roughly 0.1 to 0.15 seconds — after walking off a ledge where a jump press still registers, matching what players expect even though they’re technically airborne. Track it with a Timer or a simple float that counts up in _physics_process and resets to zero whenever is_on_floor() is true; only allow a jump if that counter is under your threshold.
Jump buffering solves the opposite problem: a jump pressed just before landing shouldn’t be lost. Store the time since the jump button was pressed, and if the player lands within that same short window, fire the jump immediately instead of requiring a second press. Together these two tweaks are the difference between a platformer that feels floaty and unresponsive and one that feels tight and intentional — most commercial platformers use both.
Step 9 — Export Your Game
Open Editor > Manage Export Templates and download the templates matching your Godot version, then go to Project > Export and add a preset for your target platform (Windows, macOS, Linux, Web, or Android). Set an icon and export name, then click Export Project to generate a standalone build.
For Android specifically, Godot 4.7’s stable Android Build Environment (GABE) lets you build, sign, and even publish directly from the export dialog without installing the Android SDK yourself — a real time-saver over the manual SDK setup earlier versions required. For a quick web build to send someone a link, use the Web preset and host the exported files anywhere that serves static content.
Common Mistakes That Break a Godot Platformer
Player falls through the floor: you painted tiles but never added a Physics Layer to the TileSet, or forgot to mark tiles as collidable in the TileSet editor’s Physics tab. Jumping feels unresponsive: you’re missing coyote time and jump buffering, or you’re checking is_on_floor() before move_and_slide() runs instead of after.
Camera feels jittery: Position Smoothing is off, or the camera is a sibling of Player instead of a child of it. Character clips through one-way platforms from below: the CollisionShape2D’s one-way collision direction is set backward — in 4.7 this can be set to any angle, not just straight up, so double-check the direction matches your platform orientation.
godot 2d platformer tutorial FAQs
Is Godot 4.7 completely free to use?
Yes. Godot is free and open source under the MIT license, with no royalties, subscriptions, or revenue cuts, for personal or commercial projects.
What replaced TileMap in Godot 4?
TileMapLayer, added in Godot 4.3, replaced the old single TileMap node. Each layer is now an independent node with its own collision, navigation, and occlusion settings, which makes separating visuals from gameplay much cleaner.
Do I need prior coding experience to build a platformer in Godot 4.7?
No. GDScript’s Python-like syntax and Godot’s built-in CharacterBody2D: Basic Movement template give you working gravity and jump code from a checkbox, though basic programming concepts like variables and if statements make the movement script easier to extend.
How long does it take to build a 2D platformer in Godot?
A basic prototype with movement, one level, and a camera takes about 2-4 hours. A polished version with collectibles, enemies, coyote time, and an export takes a weekend. A full game with multiple levels and progression typically takes a few weeks of part-time work.
What’s the difference between CharacterBody2D and the old KinematicBody2D?
CharacterBody2D is the Godot 4 replacement for Godot 3’s KinematicBody2D. It works the same conceptually — you move it manually and call move_and_slide() — but exposes clearer built-in state like is_on_floor(), is_on_wall(), and is_on_ceiling() after each move.
What is coyote time and why does my platformer need it?
Coyote time is a short grace window, typically around 0.1-0.15 seconds, after a character walks off a ledge where a jump input still counts. Without it, players who jump a frame too late feel like the game is unfair, even though the timing mistake was barely noticeable.
How do I export my finished platformer to share with others?
Download export templates from Editor > Manage Export Templates, add a preset for your target platform in Project > Export, and click Export Project. In Godot 4.7, Android builds can be created directly through the stable Android Build Environment (GABE) without installing the Android SDK separately.
Is Godot 4.7 the version I should be learning on right now?
Yes — 4.7 is the current stable release as of mid-2026, following the 4.6.x maintenance line. Every API used in this guide has been stable since 4.3, so projects you build now will carry forward cleanly into future 4.x updates.
Build It With GTStudios
Need help with your website, app, or small-business tech? GTStudios builds web, apps, and software for small businesses. See how GTStudios can help.