

Shipping a Flutter app manually — running tests, building APKs, signing releases — gets tedious fast. A CI/CD pipeline automates all of that: every push or pull request triggers a clean build, runs your test suite, and can even deploy straight to Firebase App Distribution, Google Play, or TestFlight without you touching a terminal. GitHub Actions is one of the most practical ways to wire this up, because it lives right inside your repository and is free to start.
Table of Contents
This guide walks you through creating a working GitHub Actions pipeline for a Flutter project from scratch. You will end up with automated testing on every pull request and a build job that produces signed artifacts ready for distribution. The steps use the community-standard subosito/flutter-action (currently at v2.23.0, supporting Flutter’s stable, beta, and master channels) and the latest stable Flutter release — 3.44.0 as of May 2026.
Quick Answer
Create a .github/workflows/flutter_ci.yml file in your repo. Use subosito/flutter-action@v2 to install Flutter, then run flutter pub get, flutter analyze, flutter test, and flutter build apk as sequential steps. Trigger the workflow on push and pull_request events and your pipeline is live.
Prerequisites
You need a Flutter project hosted in a GitHub repository, a basic familiarity with YAML, and GitHub Actions enabled (it is on by default for all repositories). For Android signing or iOS builds you will also need your keystore or Apple certificates stored as GitHub Encrypted Secrets — never committed to version control. iOS builds must run on a macOS runner; Android and web builds can run on the cheaper Linux runners.
No special GitHub plan is required to get started. GitHub provides a free tier of Actions minutes for both public and private repositories, and you can check current limits in your account’s billing settings.
Step-by-Step: Building the Workflow File
Step 1 — Create the workflow directory. In the root of your Flutter project, create the folder .github/workflows/. Inside it, create a file named flutter_ci.yml. GitHub Actions discovers any .yml file inside this folder automatically.
Step 2 — Define the trigger. At the top of the file, set on: push and on: pull_request targeting your main branch. This ensures every proposed change is validated before it can be merged.
Step 3 — Set up the job and runner. Define a job (for example, build) and set runs-on: ubuntu-latest for Android and web targets. For iOS, use macos-latest. Then add a steps block.
Step 4 — Check out code and install Flutter. Use actions/checkout@v4 to pull your code, then add the Flutter install step: uses: subosito/flutter-action@v2 with channel: stable and cache: true. The cache: true flag caches the Flutter SDK between runs so subsequent builds are noticeably faster. You can pin a specific version with flutter-version: '3.44.0' or omit it to always track the latest stable.
Step 5 — Install dependencies and run checks. Add three sequential run steps: flutter pub get to install packages, flutter analyze to catch static analysis issues, and flutter test to execute your unit and widget tests. These three commands are the core of a quality gate.
Step 6 — Build the artifact. After tests pass, add flutter build apk --release for Android or flutter build web for web. Use the actions/upload-artifact step to store the resulting APK or web bundle so it can be downloaded from the Actions run summary.
Adding Deployment and Secrets
For distributing builds to testers, Firebase App Distribution is a common choice for both Android and iOS. After building, add a deployment step that calls the Firebase CLI or a dedicated GitHub Action. Store your FIREBASE_TOKEN and app ID in GitHub Encrypted Secrets (Settings → Secrets and variables → Actions), then reference them in YAML as ${{ secrets.FIREBASE_TOKEN }}. Never hard-code credentials in your workflow file.
Android release signing requires your keystore file. Encode it to Base64, store the result as a secret (for example ANDROID_KEYSTORE_BASE64), then decode it in the workflow with a run step before calling flutter build apk --release. Pass the key alias and passwords as additional secrets. For iOS, the process is similar but uses a .p12 certificate and .mobileprovision profile loaded into a temporary keychain on the macOS runner.
A clean production setup typically uses three separate workflow files: a PR quality gate (runs analyze and tests on every pull request), an Android pipeline (triggered on pushes to develop or main), and an iOS pipeline (triggered on the same branches, on a macOS runner). This keeps each workflow focused and prevents a failing iOS build from blocking an otherwise-passing Android build.
Tips and Common Mistakes
Always enable caching. The most common performance mistake is omitting cache: true on the Flutter action. Without it, every run downloads the full Flutter SDK from scratch, adding significant time to each build.
Keep deployment separate from testing. Merge your quality-gate workflow (analyze + test) with your deployment workflow and you end up with tangled logic that is hard to debug. Split them into separate YAML files from the start.
Use branch-based environment detection rather than separate workflow files per environment. A single conditional in your YAML (if: github.ref == 'refs/heads/main') can deploy to production while the same workflow deploys to a staging app on other branches.
Never run iOS jobs on Linux. A common beginner mistake is setting runs-on: ubuntu-latest for an iOS build step. Xcode is only available on macOS runners, so iOS steps will fail immediately on Linux. macOS runner minutes cost more, so restrict them only to the iOS job.
Know what flutter analyze already enforces. By default, both errors and warnings are treated as fatal — the step will fail if any warnings are present. This is usually what you want in CI. If your project has a backlog of existing warnings you are not ready to fix, pass --no-fatal-warnings to only fail on errors. To go stricter and also catch info-level issues, add --fatal-infos.
Scope your secrets carefully. Prefer environment-level secrets in GitHub (Settings → Environments) over repository-level secrets when you have multiple deployment targets. This prevents a staging token from accidentally being used in a production deployment.
Explore more: More App Development guides.
Flutter CI/CD with GitHub Actions FAQs
Which Flutter GitHub Action should I use?
The widely used community action is subosito/flutter-action, currently at v2.23.0. It supports Linux, macOS, and Windows runners and lets you pin a specific Flutter version or track a channel (stable, beta, master). Reference it in your workflow as uses: subosito/flutter-action@v2.
Can I build for both Android and iOS in the same workflow file?
Yes, but they need separate jobs with different runners. Define an android job with runs-on: ubuntu-latest and an ios job with runs-on: macos-latest. You can set needs: [android] on the iOS job to make it wait, or run them in parallel by omitting the dependency.
How do I make the pipeline run only on pull requests and not on every push?
Set on: pull_request as the only trigger and remove on: push. For deployment jobs you want to run after a merge, add a second workflow file with on: push: branches: [main] so deployment is only triggered when code lands on the main branch.
Why is my Flutter test step failing in CI but passing locally?
The most common cause is a missing platform dependency. Tests that involve platform channels (camera, file system, etc.) may need additional mocking in CI. Also check that flutter pub get runs before flutter test, and confirm your pubspec.lock is committed so dependency versions are consistent between local and CI environments.
Build It With GTStudios
Need help shipping your app, game, or small-business tech? GTStudios builds web, apps, and games. See how GTStudios can help.
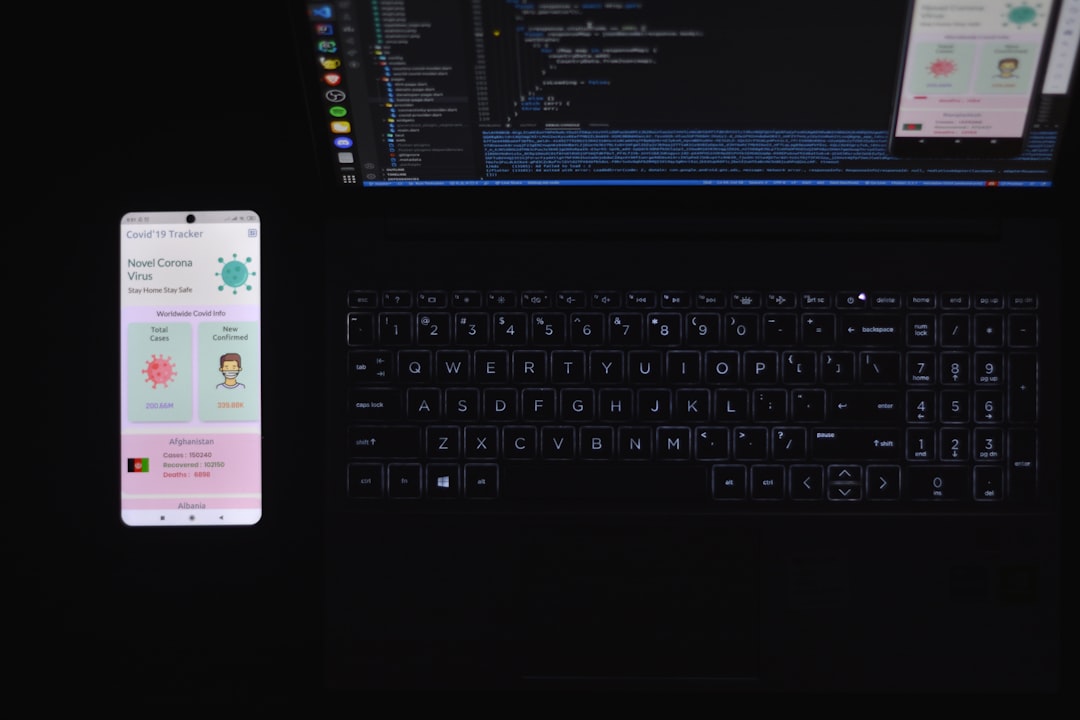
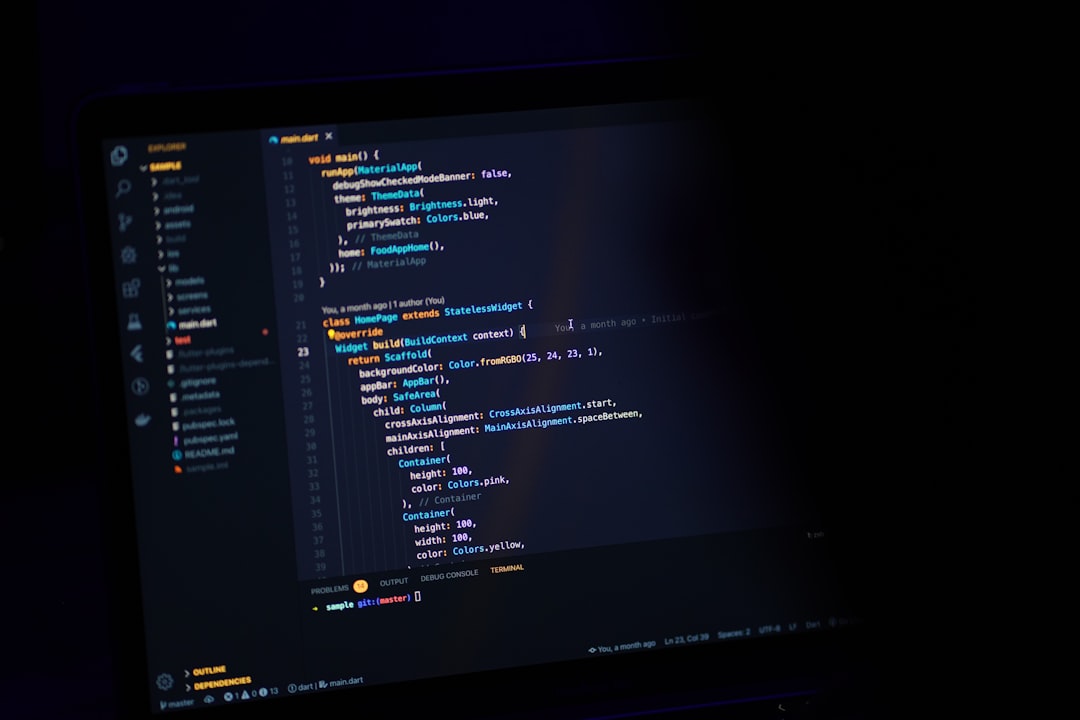
Photo by Fahim Muntashir on Unsplash.